Like the lamp, I did this DIY some time back which means I don't have to many photos of it in the process of being made. I still found this to be super cool and wanted to share it with you!
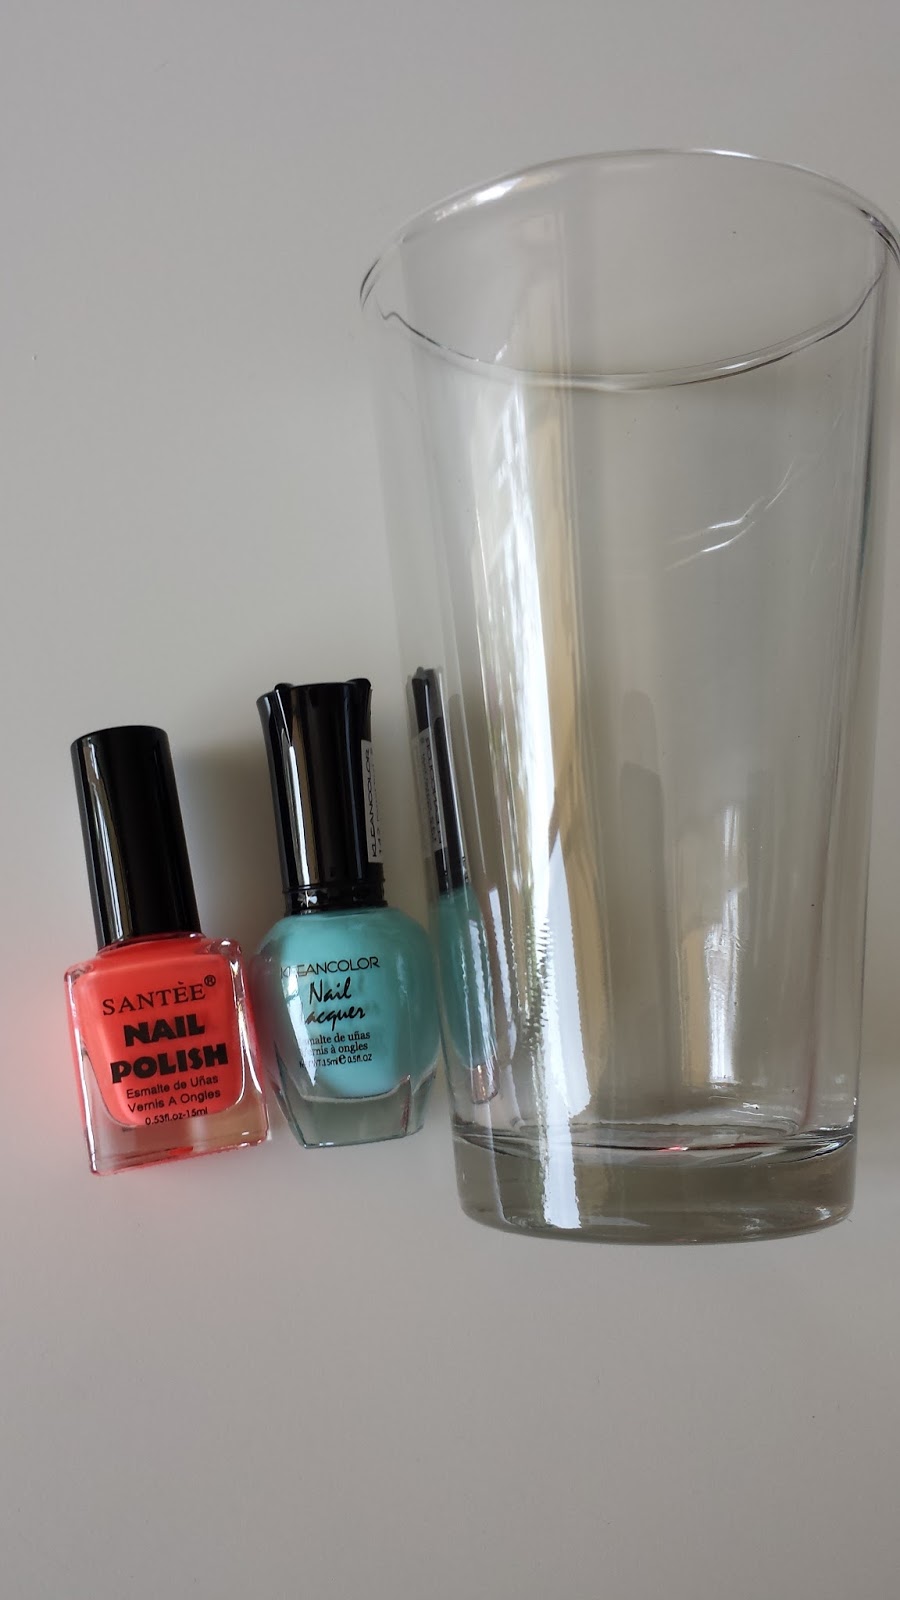
Materials you'll need:
1. A smooth piece of wood
2. A color printer
3. Mod podge (matte or glossy)
4. Foam brush
5. Scissors
6. Project area
How to Do it!
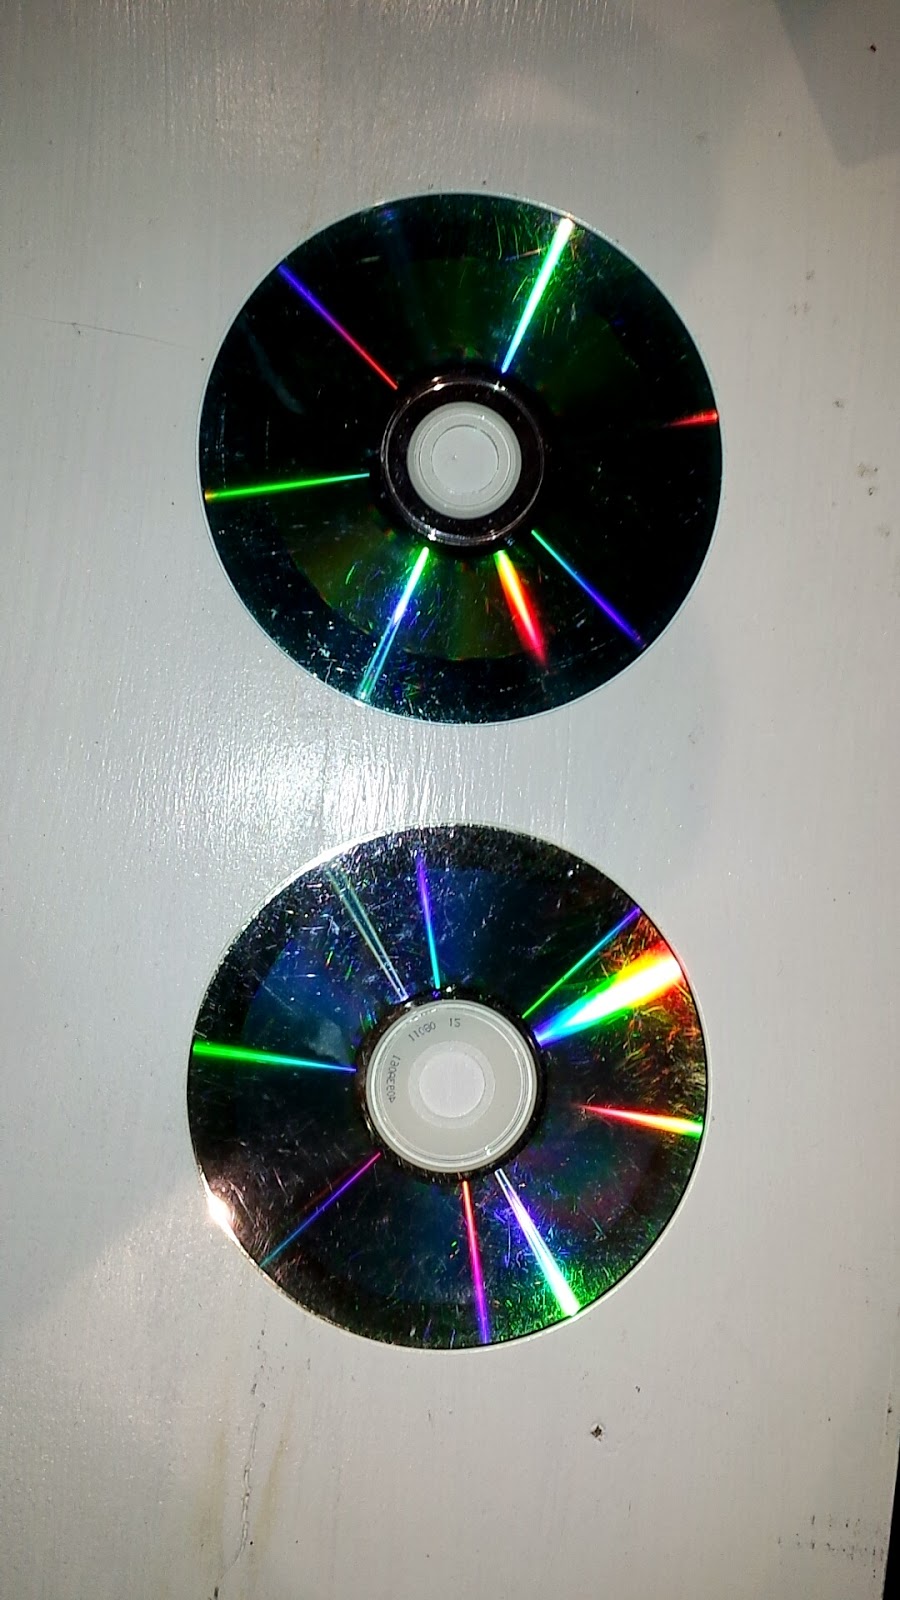
Step 1: Gather your materials! ♥
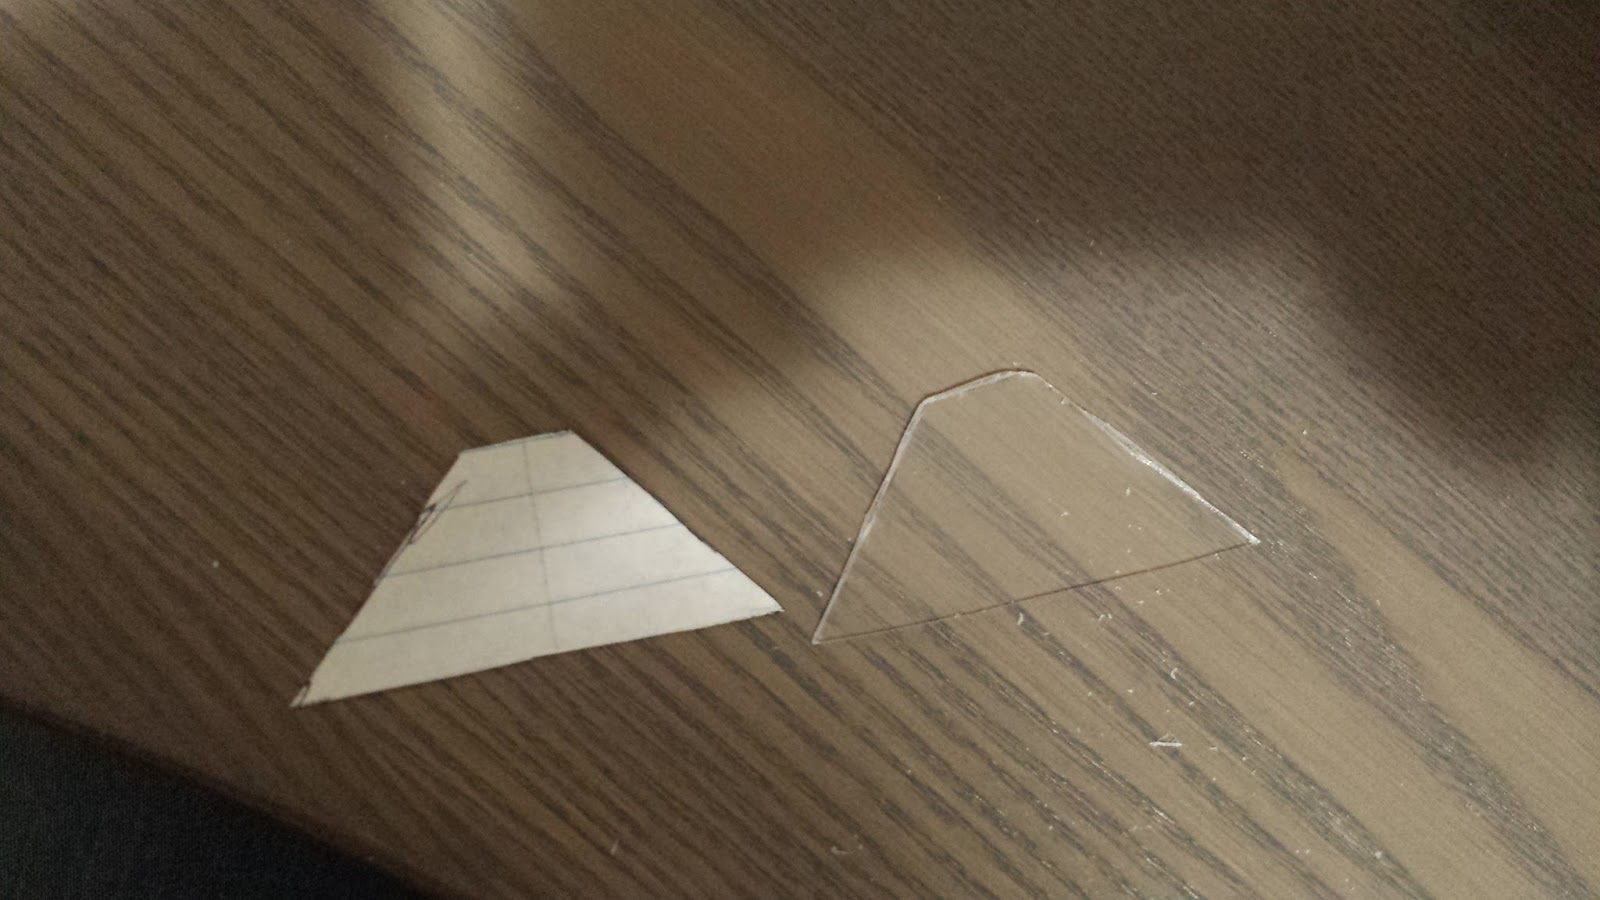
Step 2: Print an cut out your photo on normal printer paper. Make sure the picture is flipped (right side on left and vice versa).
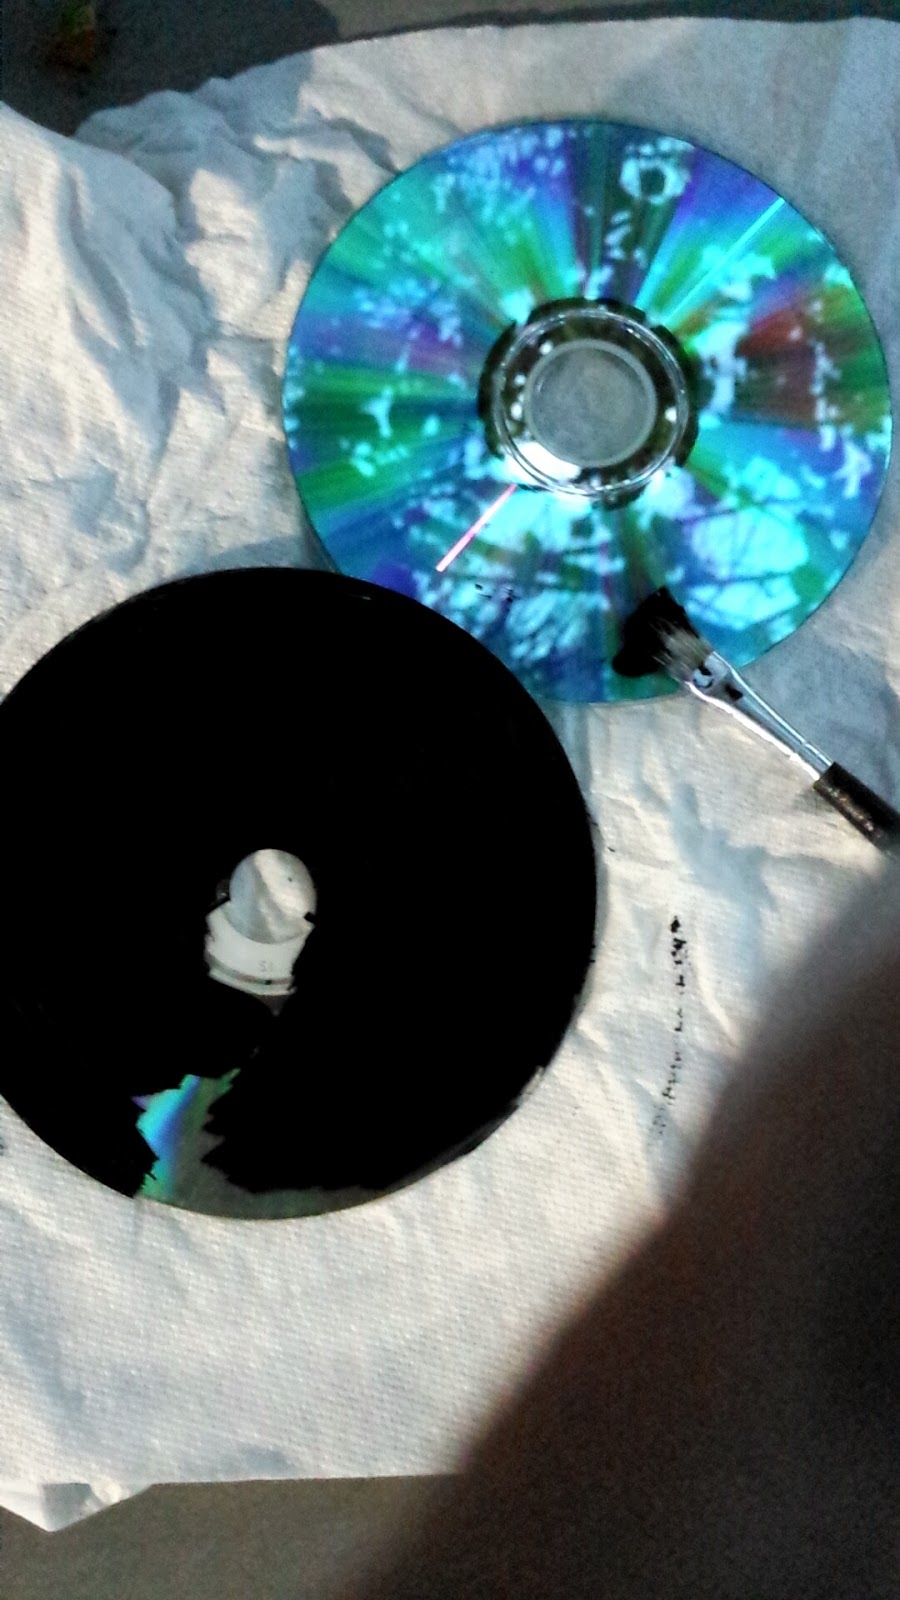
Step 3: Brush on a generous coat of mod podge on where you want the picture to be.
Step 4: Flip the photo onto the wood ink side down and press it in. Flatten out any bubbles and lumps with a credit card or student id (anything accessible with a flat smooth hard surface.
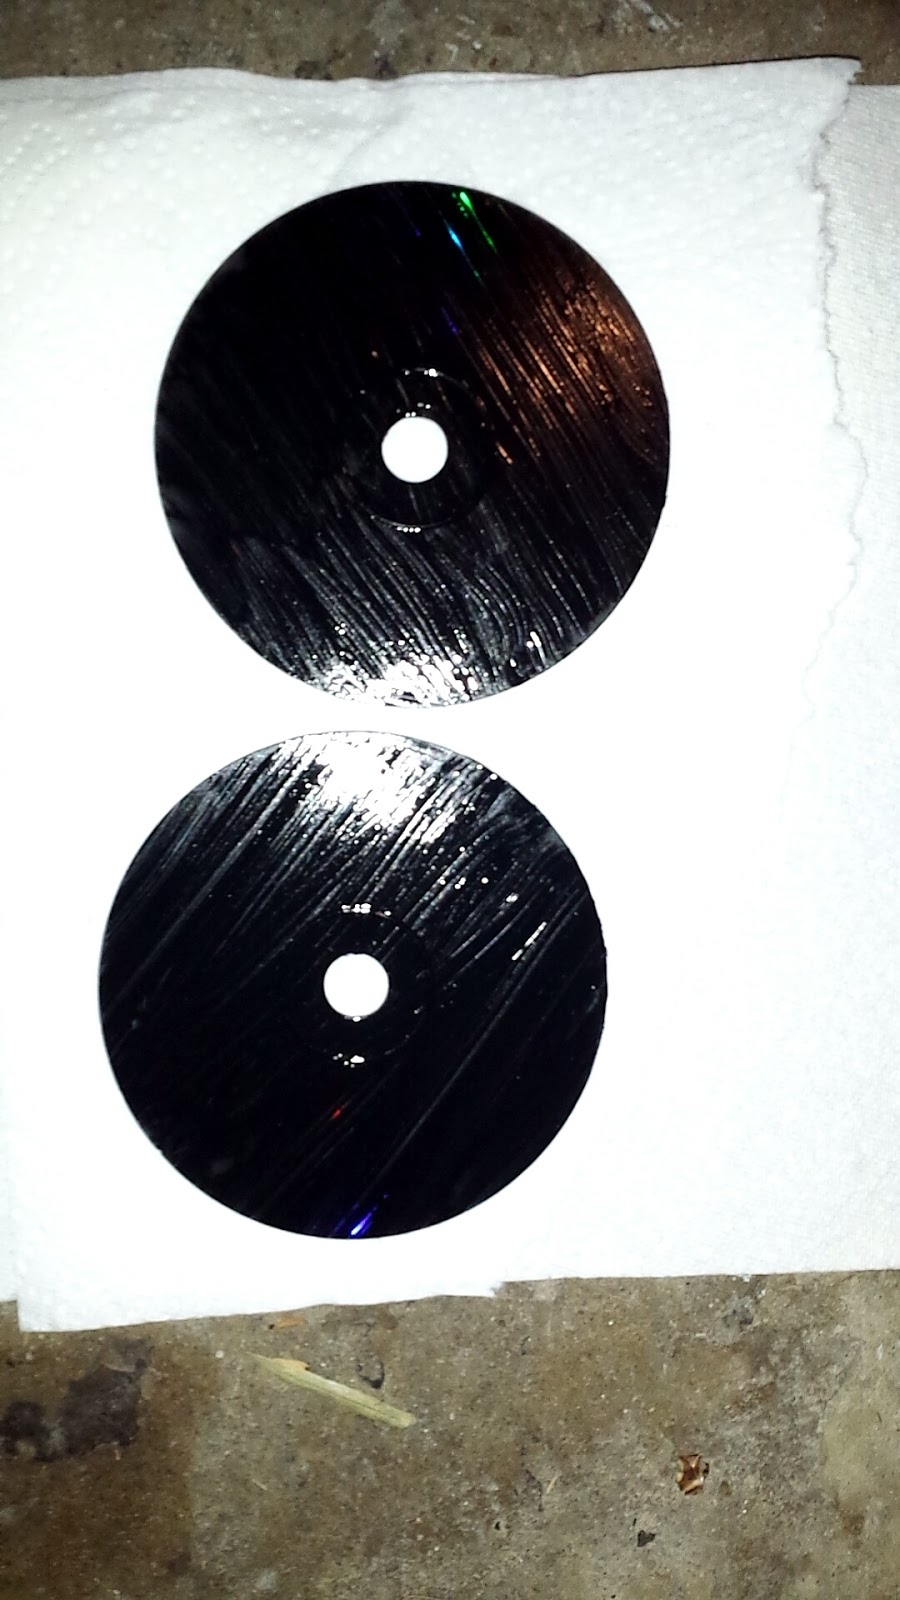
Step 5: Apply another layer of mod podge over the photo and let it dry over night.
Step 6: With a minorly damp cloth, rub away the excess paper leaving you with a beautiful photo transfered onto a piece of wood.
Love you all ♡ Hope it worked for you!
Love you all ♡ Hope it worked for you!